
DIY Pool Resurfacing Step-by-Step (w/ Materials List)
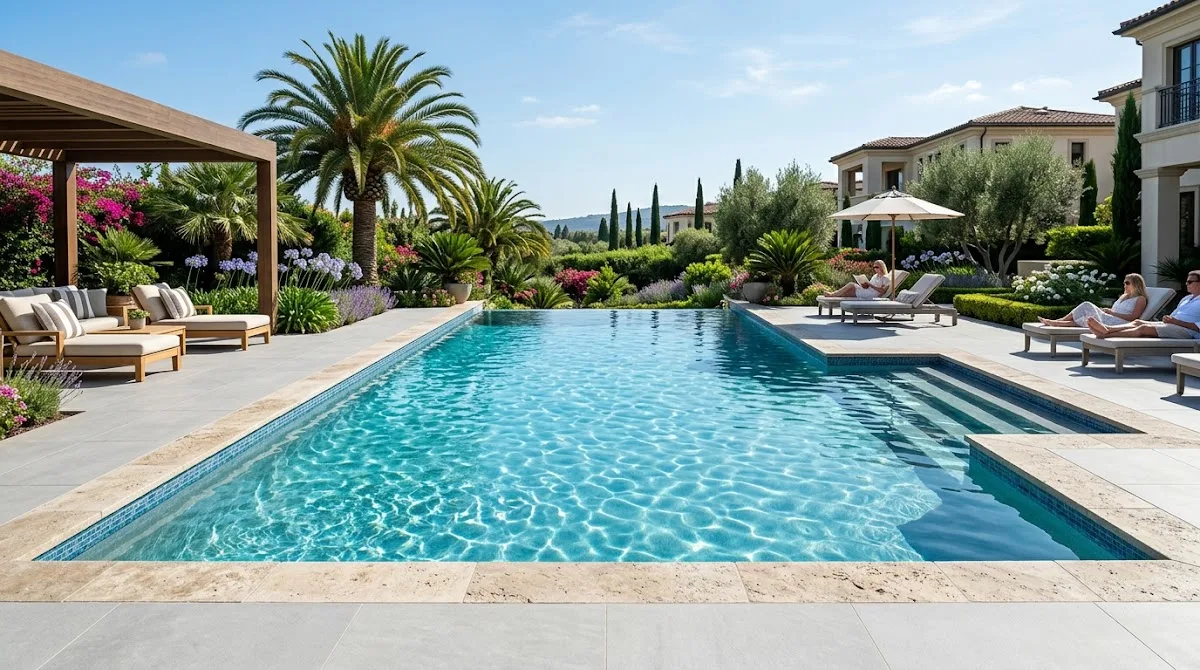
A tired pool shows up slowly. First a stain. Then rough spots, fading, and small surface flaws that make the whole finish feel older than it is.
This guide walks you through how to resurface, what materials you need, how prep affects results, and when a higher-performance system makes more sense.
Evaluating Swimming Pool Resurfacing Options Before You Start
Most pool surfaces need resurfacing every 10 to 15 years. Sun, water chemistry, movement in the pool shell, and daily use all wear the finish down. That decline may look like discoloration, chip marks, rough texture, or loose plaster near the waterline.
Pool resurfacing is a process of renewing the interior finish so the basin stays sealed, smooth, and visually clean. In simple terms, pool resurfacing involves replacing the worn finish layer or covering it with a new bonded coating system.
Before you resurface a pool, pause here. Not every surface calls for the same approach.
A concrete pool often gets a cement-based or epoxy system. Fiberglass and gelcoat repairs follow a different path. Vinyl and vinyl liners are usually repaired or replaced, not coated the same way. Fiberglass pools also need products made for fiberglass movement and resin compatibility.
If you are comparing pool finishes, look beyond color. Think about adhesion, maintenance, texture, material costs, and longevity.
Some owners choose basic plaster or pool paint because they are cost-effective upfront. Others want a more permanent pool restoration path. That is where advanced micro-ceramic systems stand out. A three-part system such as micro-ceramic waterproofing can waterproof and refinish the surface while delivering a luxury finish. It also brings ASTM, NSF, and Miami-Dade NOA certification, plus antimicrobial, antibacterial, and antiviral protection that supports safe swimming conditions.
Pool Surface Cost and Lifespan Comparison
Knowing the tradeoffs matters. A lower first price can mean more upkeep, shorter service life, and higher labor costs later.
| Material | Lifespan | Cost (per sq. ft.) | Maintenance |
|---|---|---|---|
| Acrylic Paint | 2–4 Years | $1–$3 | High |
| Epoxy Paint | 5–7 Years | $3–$5 | Medium |
| Plaster | 10–15 Years | $3–$5 | Medium |
| Quartz | 15–20 Years | $7–$10 | Low |
| Pebble | 20+ Years | $8–$12 | Low |
| Glass Tile | N/A | $15–$75 | N/A |
That table explains a lot. A cheap coating may help restore its appearance fast, but it may also deteriorate sooner. A better system can extend the life of your pool and stay easy to maintain.
Materials List to Refinish a DIY Pool Successfully
Let’s get practical. The biggest mistake in a DIY pool project is starting before every tool and material is on site.
Gathering Essential Tools and Protective Gear
You need safety gear first:
- Heavy-duty gloves
- Protective goggles
- Durable work clothes
- Respirator rated for chemical fumes when using muriatic acid or similar products
Then gather your prep tools:
- Wire brush
- Sponge
- Chisel and hammer
- High-power pressure washer
For application, keep these close:
- Pool trowel
- Putty knife
- Notched squeegee
- Heavy-duty paint rollers
The right tools save time, but they also improve the finish. A rough patch job, uneven coating thickness, or missed void can create failure points across the entire pool.
Selecting Your Concrete Pool Coating and Patching Compounds
If your pool is gunite or concrete, many products are used to resurface concrete, but they are not equal. Traditional roll-on plaster kits require mixing and careful timing. A standard two-coat kit may cover about 60 square feet and weigh 53 pounds, including liquid and powder components.
For deeper voids, use hydraulic cement. For a crack around a skimmer or fitting, an epoxy injector system may help isolate the damaged area. If you plan to DIY pool plaster, read coverage rates closely before you buy.
Now the bigger decision. Do you want a short-term refinish, or do you want a system built to improve its appearance while creating a lasting waterproof barrier? Premium micro-ceramic systems give you a denser, smooth finish than basic plaster or rubberized products, which is why many high-end pool owners move in that direction.
Crucial Prep Work for a Flawless New Coating
This is where most failures begin. Not in the final coat, but in prep.
Draining, Cleaning, and Acid Etching
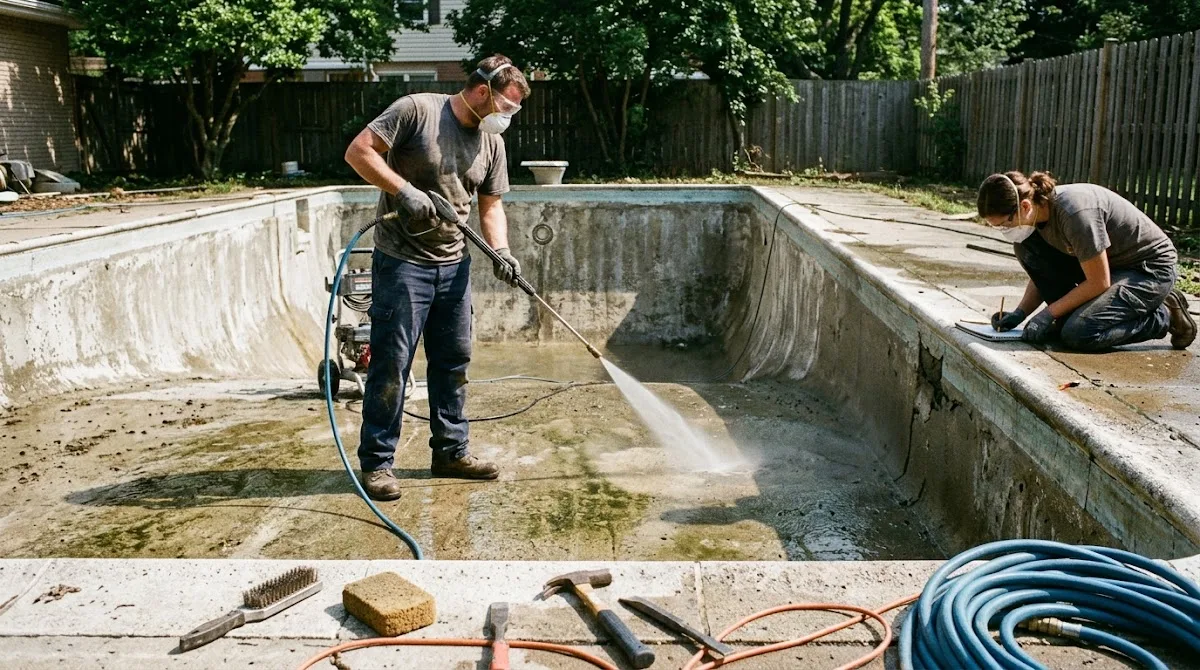
Draining a pool usually takes 12 to 24 hours depending on size, plumbing, and discharge limits. Once empty, inspect the old plaster, tile band, fittings, spa spillways, and pool decks around the edge.
Next, pressure wash the pool thoroughly. You are trying to remove the old weak material, dirt, oils, alga buildup, and loose plaster. In some cases, contractors sand or even sandblast stubborn sections to remove the old damaged layer.
After cleaning comes etching. Muriatic acid is used in an acid wash to open the surface and improve bonding. This gives the new coating a better mechanical grip. If your pool surface is slick, contaminated, or chalky, skip this step and the whole system may struggle with adhesion.
Repairing Cracks Without a Professional Installer
Small damage can spread fast once water gets behind the finish. Open each damaged area slightly with a hammer and chisel so filler can lock in better.
For the wall-to-floor joint, use the patching compound ratio specified by the manufacturer. Shape it into a solid bead, then smooth it. Minor underwater repairs exist, but if you are already draining the vessel, it is better to make repairs dry and clean.
If the damage is structural, call an installer. Surface products cannot fix major movement in the substrate.
DIY Pool Resurfacing: The Step-by-Step Application Guide
Here is the part most people wait for. The actual step-by-step path to resurface your pool.
1. Priming the Substrate to Resurface A Pool
A primer or sealer is not optional. It fills pores left after acid washing and helps the new system bond to the old surface.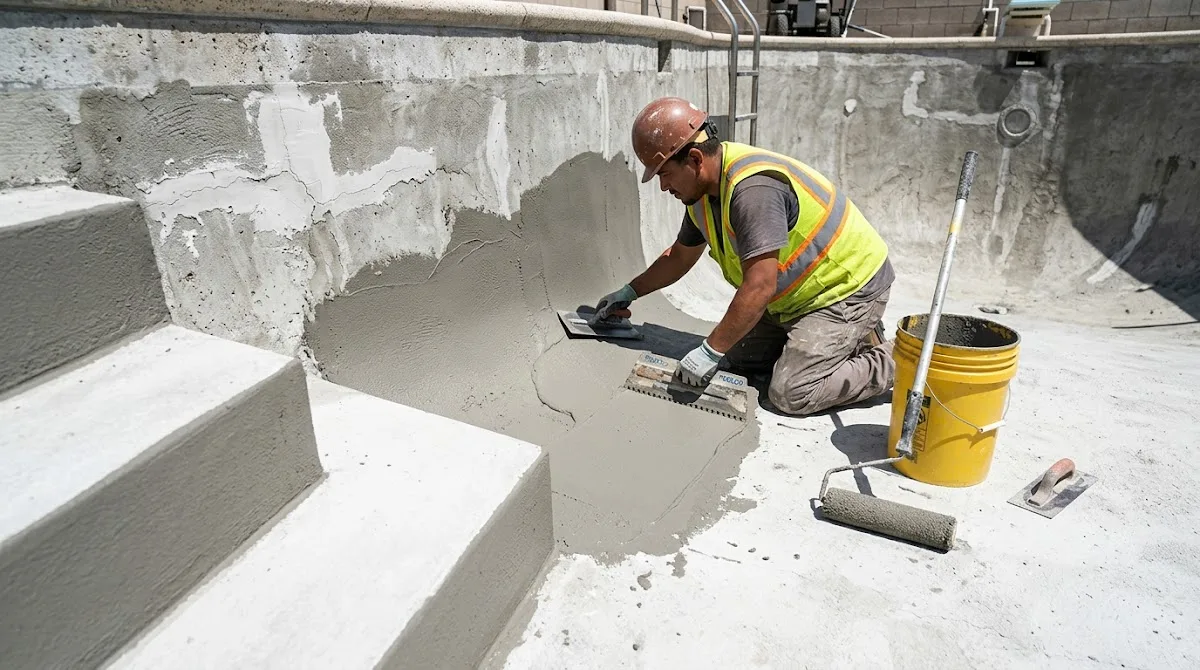
Substrate is a base layer that supports the finish applied above it. In this case, the substrate is usually existing plaster, gunite, or concrete under the new pool finish.
This stage matters even more with advanced waterproof systems. SKIN2.0, for example, uses a three-part build that depends on tight bonding between layers for water resistance and long service life.
2. Applying the Main Pool Surface Coating
Application changes by material. Roll-on epoxy or plaster blends go on with rollers or heavy brushes. Traditional plaster is hand-applied and shaped with a trowel. Micro-ceramic systems are built in multiple passes to create a waterproof barrier.
Keep the thickness even. Watch corners, steps, benches, and around each tile edge. Thin spots can stain, wear, or fail first.
If you are weighing resurfacing methods, this is where product quality shows up. A stronger system can reduce porosity, resist wear, and deliver a fresh look with less maintenance. Some luxury finishes may even include aggregate, glass beads, or glass tile accents for design impact.
3. Properly Curing the New Finish
Do not rush refill day. New plaster, specialty coating systems, and gelcoat repairs all need cure time. Replastering too fast with water can weaken the surface.
Curing is the controlled drying and hardening period that allows the finish to gain strength. Once cured, a high-performance waterproof layer helps protect the life of your pool and support cleaner water. That is one reason many people who know about pool resurfacing choose premium systems over basic pool paint.
Conclusion
A successful resurface project comes down to planning, cleaning, repair quality, and patience during curing. If your pool needs resurfacing, choose materials that match the shell, follow each step closely, and do not cut corners on prep. For a longer-lasting upgrade, modern waterproof micro-ceramic systems offer a stronger path than basic surface coatings.
Frequently Asked Questions About DIY Pool Resurfacing
Can you DIY resurface a pool?
Yes, if the damage is minor and the shell is sound.
What does vinegar do to a swimming pool?
It can clean small scale spots, but it is not a resurfacing product.
What is the cheapest way to resurface a concrete pool?
A basic plaster or paint-type coating is usually the lowest-cost option.
How much does it cost to replaster a 35,000 gallon pool?
It varies by finish, region, and labor, but total cost can be significant.
What is the cheapest way to resurface a concrete pool?
A simple roll-on system is usually the lowest upfront choice.
Is it legal to skinny dip in your backyard pool?
That depends on local laws, visibility, and whether the setting is truly private.