
Gunite Pool Resurfacing Step-by-Step (w/ Cost Breakdown)
Gunite pool resurfacing is one of those jobs that looks simple from a distance. Drain the pool, apply new plaster, fill it back up. Done, right?
Not quite. A successful resurface depends on shell prep, bonding, waterproofing, finish selection, careful curing, and disciplined pool maintenance after startup.
Understanding Gunite Pools and Your Pool Resurfacing Options
The Anatomy of a Gunite Pool
Gunite is a concrete application method used to build in-ground swimming pools. In everyday use, many pool professionals call a shotcrete shell a gunite pool, even though the spray process can differ slightly.
Here’s what matters most. The shell is only the structure. It is not the final pool surface.
After the shell cures, it needs a cement-based coating or another interior finish to become watertight, usable, and visually complete. That finish affects functionality, comfort, stain resistance, and how durable the pool will be over time.
Traditional plaster, marcite, quartz, pebble, and tile systems all have a place in the market. But many pool owners are now looking beyond standard plaster because porous surfaces can absorb moisture, trap chemical residue, and make cleaning harder.
That is why newer systems matter. A certified micro-ceramic waterproofing layer paired with a luxury finish can add a more watertight barrier and better hygiene performance. If you want a deeper look, this guide on microplaster waterproofing explains why the right system protects both the shell and the finish.
Exploring Popular Pool Resurfacing Options
When you resurface an existing pool, the choices can feel endless. Still, most pool resurfacing options fall into a few clear groups.
Common cementitious finishes include:
- White plaster
- Colored plaster
- White quartz
- Colored quartz
- Exposed pebble
- Polished finishes
- Finishes with glass beads
Alternative systems include:
- All-tile interiors
- Painted plaster coatings
- Fiberglass gel coatings
- Thermal plastic coatings
- Vinyl liner systems for non-concrete builds
Each finish changes the look and feel of the water. Some provides a smooth, classic appearance. Others create more texture or visual depth.
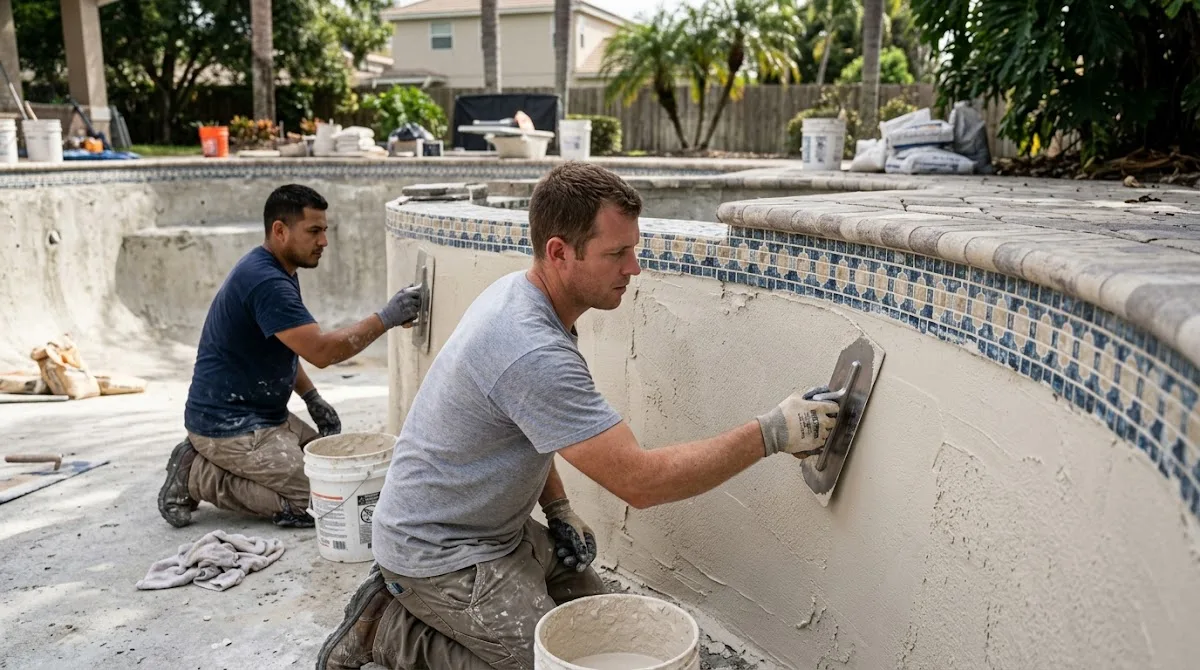
White plaster and marcite remain common because they are familiar and often the cheapest upfront. Quartz offers improved wear. Pebble and aggregate finishes are usually more durable. Tile can deliver the longest lifespan, though cost climbs fast.
You may also hear names like Pebble Tec in general market conversations. The bigger point is not the label. It is how the system is built, how the prep is done, and whether the materials are certified for health and performance. For a broader comparison of pool finishes, it helps to review materials side by side before your pool resurfacing project begins.
Modern systems now go further. A proprietary three-part micro-ceramic solution can combine waterproofing, antimicrobial protection, and a refined decorative finish in one renovation approach. That matters if your goal is durability and longevity, not just appearance.
15 Warning Signs Your Gunite Pool Needs Resurfacing
Visual and Structural Indicators
Most surfaces do not fail without warning. Your pool needs attention if you notice one or more of these signs:
- Peeling plaster
- Flaking finish
- Delamination
- Hollow spots
- Check cracking
- Structural crack movement
- Pitting
- Severe roughness
- Persistent stain areas
- Rust marks
- Discoloration
- Calcium scale
- Exposed fiberglass fibers on patched areas
- Water loss suggesting a leak
- Repeated patch repair that does not last
Think about it this way. If the finish is breaking down, the shell has less protection. A minor chip today can become a larger repair later.
How Water Chemistry Speeds Deterioration
Water chemistry is not a side issue. It is a main driver of plaster wear.
Low pH can etch plaster and old plaster quickly. Low calcium can pull minerals from the surface. High pH can create scale, roughness, and stubborn deposit buildup around the skimmer and tile line.
That rough, scaled finish is more than cosmetic. It can hold dirt, support alga growth, and make the pool cleaner work harder. In many pool environments, poor chemistry shortens the lifespan of a regular pool finish long before it should need to be replaced.
Average Lifespans: How Long Will Swimming Pools Last Before Resurfacing?
No finish lasts forever. But some last much longer than others.
Here is a simple benchmark for swimming pool resurfacing materials:
| Finish Type | Expected Lifespan |
|---|---|
| White Plaster | 5 to 15 years |
| White Quartz | 10+ years |
| Exposed Pebble / Aggregate | 15 to 20+ years |
| Polished Pool Finishes | 5 to 15 years |
| Tile Finishes | 20+ years |
| Vinyl Liners | 5 to 10 years |
The real lifespan depends on pool size, water balance, climate, bather load, startup care, and regular maintenance. A durable system installed over weak prep can still fail early. On the other hand, a well-built finish over a sound gunite shell can hold up for many years.
Gunite Pool Resurfacing Step-by-Step
Step 1: Safely Drain the Gunite Pool
First, the pool is drained with a submersible pump. When the pool is drained, lights are tagged, equipment is shut down, and hydrostatic risk must be considered.
This is not casual work. A gunite pool can crack or shift if groundwater pressure is ignored.
Step 2: Surface Prep for Bonding
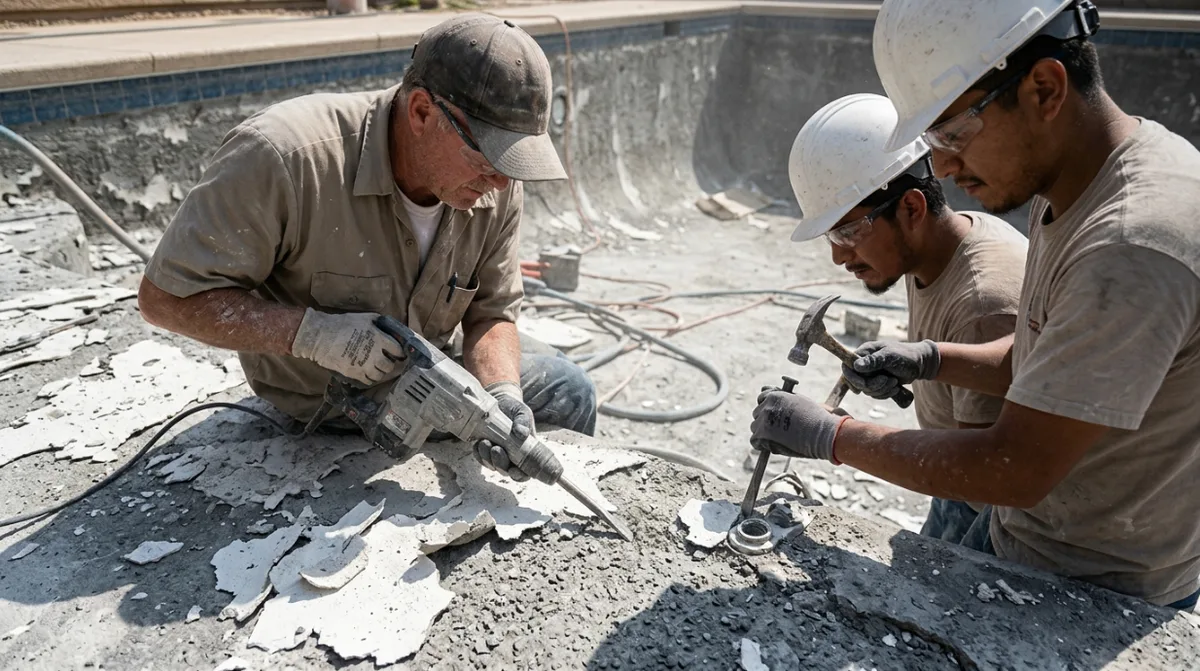
Next comes prep. Loud, dusty, messy prep.
Crews may chip out loose material, remove old plaster, hydroblast the shell, or sandblast the interior. An acid wash may be used to remove stubborn stain buildup, though every chemical treatment has to be controlled carefully.
After that, a bond coat or mechanical profile is created so the new surface can grip the shell. This stage decides whether new plaster bonds well or fails early.
Step 3: Tile, Coping, and Pool Design Details
If the renovation includes updated pool design features, this is the time. Crews can install new tile, reset coping, add ledger stone, and improve deck transitions.
A good fitting around the skimmer, returns, and waterline tile matters here. So does grout selection. Once the finish is applied, changes get expensive.
Step 4: Plumbing Updates and a Watertight Seal
This is the smartest moment to inspect plumbing, skimmer throats, lights, suction fittings, and return lines. If something hidden needs work, fix it before the interior finish goes on.
A watertight system matters most at this stage. Traditional sealants can help, but advanced micro-ceramic waterproofing offers stronger shell protection and a more durable barrier. This article on pool health explains why waterproofing is central to longevity.
Step 5: Pool Finish Installation
Now the visible transformation starts. A scratch coat may be applied first, followed by the finish coat.
Depending on the system, crews trowel new plaster, marcite, quartz, pebble, or another pool finish into place. Hard troweling improves smoothness and density. In a premium system, the finish is applied in coordinated layers for both waterproofing and aesthetics.
Step 6: Optional Acid Exposure
Some surfaces need post-application exposure. Pebble, aggregate, darker quartz, and finishes with glass beads may receive a specialized acid treatment to reveal color and texture.
This step is not for every pool finish. But where used, it helps expose the decorative media without harming the shell.
Step 7: Cleanup and Refill
After cleanup, the pool begins filling immediately. Water should rise continuously until it reaches the middle of the waterline tile.
No stopping halfway. No letting debris dry onto fresh plaster.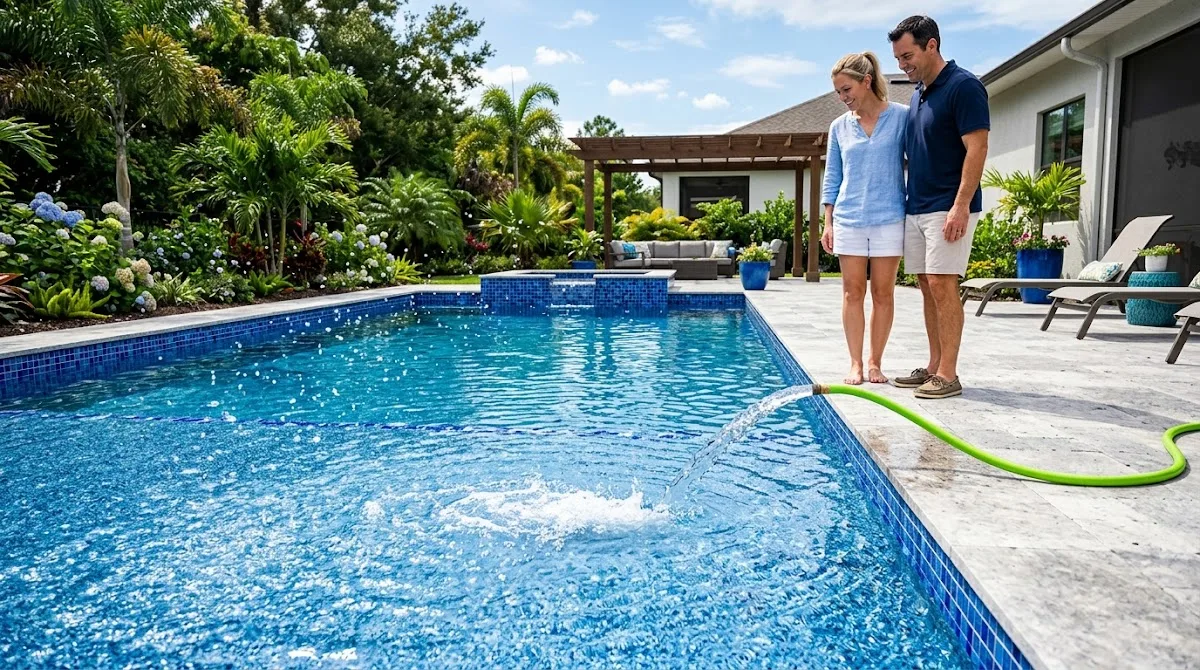
Step 8: Startup and Curing
The curing period starts as soon as water enters the pool. The first week is critical.
Typical startup rules include:
- Bathers can enter immediately
- Chlorine waits 3 days
- Heaters stay off for 2 weeks
- Full cure takes 28 days
During this time, crews may brush the surface and monitor water balance closely. New plaster and new surface materials are still stabilizing.
Step 9: Ongoing Care
After startup, pool service routines matter. pH should stay between 7.2 and 7.8, with chlorine around 1 ppm unless the system requires something different.
Consistent pool maintenance protects the finish, reduces stain risk, and helps keep the surface resistant to bacteria buildup. For many pool owners, an antimicrobial finish also makes the water feel cleaner and easier to manage.
Gunite Pool Resurfacing Cost Breakdown
Let’s talk money.
A basic resurface on a small gunite pool may start around $1,000, while a premium refinish with tile, pebble, coping work, and equipment upgrades can exceed $30,000. The cost depends on materials, labor, prep, access, and complexity.
Many contractors also price portions of the work per square foot. In simple terms:
- Basic plaster is usually the cheapest
- Quartz and pebble cost more
- Tile is often the highest
- Waterproofing layers add cost but improve protection
- Structural repair and deck work raise totals fast
For a fuller cost breakdown, compare line items before signing. The lowest bid is not always the best value if poor prep leads to replastering later.
Conclusion
To resurface a gunite pool well, you need more than fresh plaster. You need sound prep, careful waterproofing, precise finish work, and disciplined startup. Get those pieces right, and the pool looks better, lasts longer, and performs with fewer problems. That is the difference between a quick cosmetic job and a lasting upgrade.
Frequently Asked Questions About Gunite Pool Resurfacing
How expensive is it to resurface a gunite pool?
Most jobs range from basic low-cost plaster work to premium finishes above $30,000.
Can a gunite pool be resurfaced?
Yes. A gunite pool can be resurfaced many times if the shell is sound.
How often should a gunite pool be replastered?
Usually every 5 to 15 years for plaster, depending on care and water balance.
Is it better to Replaster or resurface a pool?
Resurface is broader. Replastering is one resurfacing method.
What time of year is best to resurface a pool?
Mild, dry weather is often best for scheduling and curing.
What is the cheapest way to resurface a concrete pool?
Basic white plaster is usually the cheapest option for a concrete pool.