Concrete Fountain Repair: DIY Fixes (That Last)
A leaking fountain can look like a small nuisance. Then the basin drains overnight, the pump runs hot, and a hairline crack turns into real damage.
This guide walks you through concrete fountain repair that holds up. You’ll learn how to diagnose the problem, prep the surface, make a durable repair, and choose a finish that protects both appearance and performance.
Assessing Garden Concrete Fountain Damage and Water Leaks
Before you buy a product, find the source of failure.
That sounds obvious, but many jobs fail because people treat the symptom, not the cause. If your concrete fountain is losing water, there are usually three places to look: mechanical parts, structural movement, and the finished surface.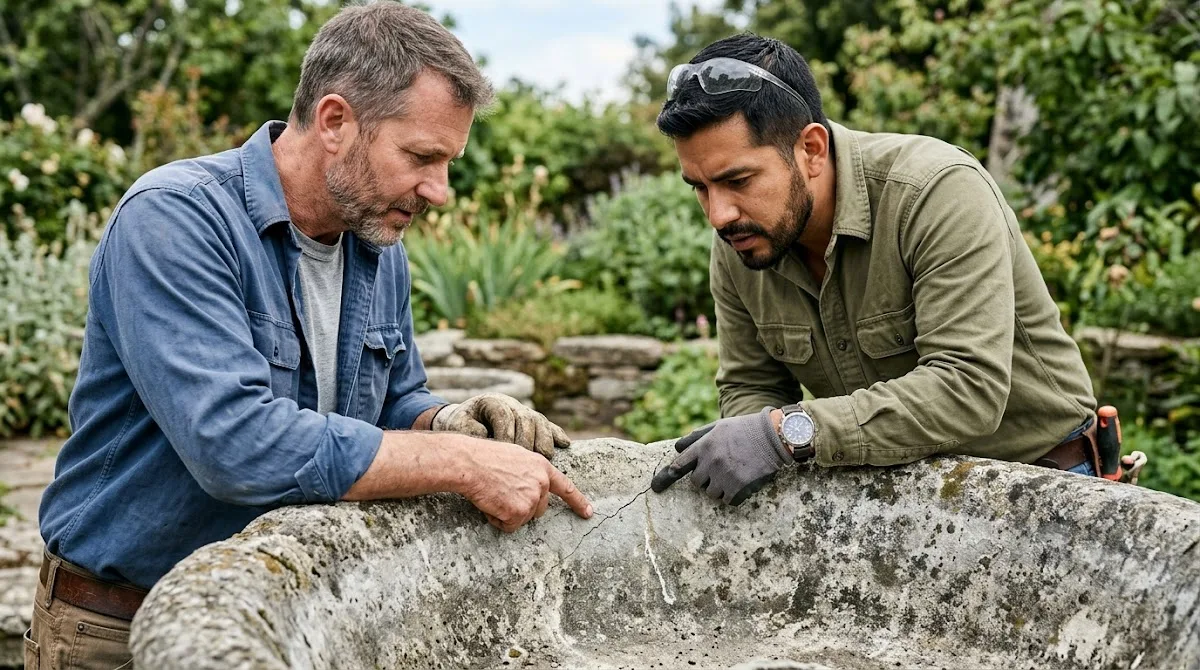
Start simple.
A leak may not be a crack at all. It could be a failing pump, a loose hose, or clogged plumbing that changes flow and sends water where it should not go. Then move to the structure. Look for a visible crack, a small hole, or a broken edge around the basin or bottom. Last, inspect the finish. If the old coating is chalking, flaking, or worn thin, water can migrate through the cement and show up somewhere else.
Concrete fountain repair works best when you diagnose in this order:
- Mechanical issues such as pump failure or blocked lines
- Structural issues such as cracks, movement, or exposed rebar
- Surface issues such as worn sealer or failed waterproof coating
A concrete fountain is a cast structure designed to hold and move water while resisting weather, minerals, and wear and tear. If one part fails, the others are stressed too.
If you want a deeper look at long-term concrete protection, see concrete waterproofing.
Step 1: Water Pump and Plumbing
Let’s start with flow.
For many small and mid-sized water features, a 100 GPH pump is enough. It is efficient, easy to source, and usually has the strength needed to move water to the top tier without oversplashing. If your old pump hums, runs weak, or trips the circuit, replace it before you do anything else.
Use 1/4 inch clear plastic tubing to connect the new pump to the outlet. If the original fitting is missing, especially on decorative heads, fit rigid plastic or rubber tubing snugly into place and secure it with silicone. You want a tight bead, not a messy blob.
One tip matters more than it seems. Route the cord or wire through the factory slot at the back seam so the upper section sits level on the base. If the top rocks even a little, the fountain will throw water unevenly, and you may mistake splash-out for a leak.
Also, check that the system is plumb and that the drain path is clear if your model has one.
Step 2: Grinding and Fixing a Concrete Fountain Crack
If you found a crack, do not smear filler over the top and hope for the best. That almost always breaks loose. You need fresh edges and depth so the patch can lock in.
Use a 4-inch angle grinder with a concrete cutting wheel. Grind out the damaged area to create a keyway. For a hairline crack, a groove about 1/4 inch deep is usually enough. This exposes sound cement on both sides and gives the repair mix something to grab.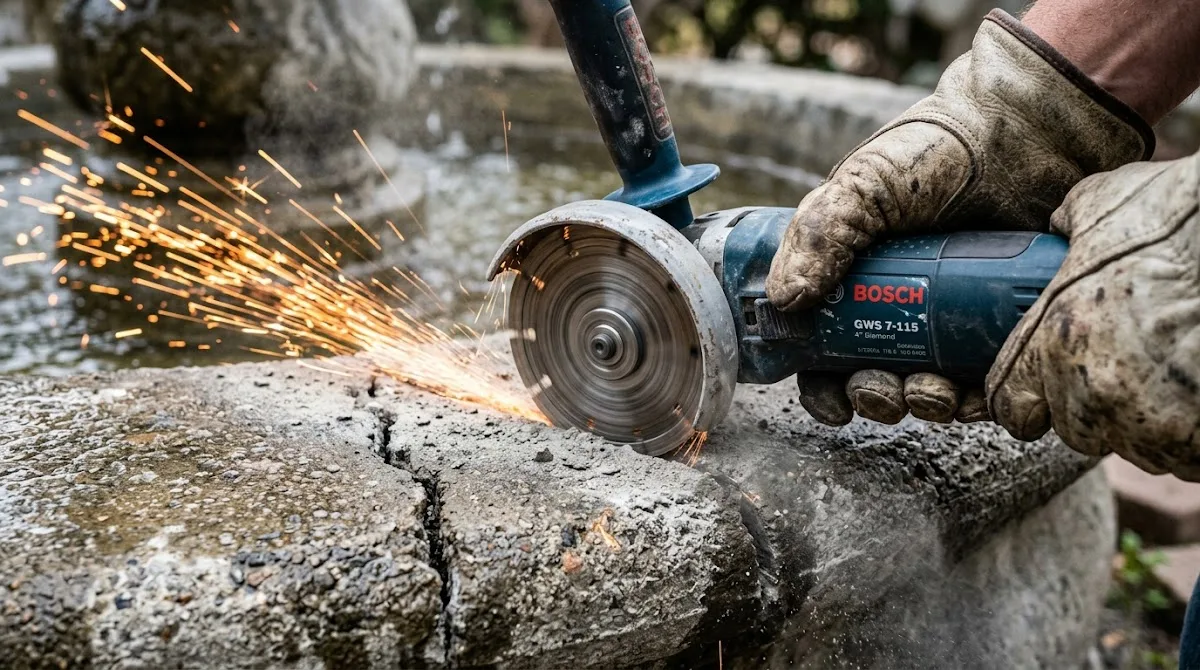
Think about it this way.
You are not just covering a line. You are building a mechanical bond inside the structure. That is what gives the repair strength.
After grinding, blow out all dust with compressed air. Remove every loose grain, dirt pocket, and weak fragment. If there is a chip or break along the rim, square it up the same way. A ragged edge is hard to patch well.
If you find corrosion around rebar, that points to deeper issues and should be treated before resurfacing.
Step 3: How to Clean and Prep for a Permanent Seal
The surface must be clean, sound, and ready to bond. Wash away grime, mineral film, and old residue. For light buildup, a vinegar wash can help loosen deposits. Rinse well, let the fountain dry, and do not rush this part.
Next comes the primer approach many DIY guides miss. Mix a very thin epoxy coat, almost watery, and brush it into the prepared area first. Porous concrete will wick that liquid into the substrate. That first pass helps tie the repair to the old body of the fountain.
Epoxy is a resin system used to bond, fill, and coat porous materials like concrete. In a repair setting, the thin first coat acts like a bridge between old and new material.
Here is where smarter finishing matters.
A sterile, stable base is better than a quick cosmetic cover. Certified finishes with ASTM, NSF, and Miami-Dade NOA credentials offer a stronger starting point for wet environments, especially when the system also has antimicrobial, antibacterial, and antiviral properties. In practice, that means a cleaner surface and better long-term protection than many consumer-grade coatings.
If you are comparing finish options, this microplaster guide lays out why premium systems protect your fountain more effectively.
Step 4: Applying Advanced Waterproofing to Stop the Leak
Once the primer coat gets tacky, fill the groove with a thicker epoxy putty mix. Press it in with a putty knife so there are no voids at the bottom. Then smooth the flush with the surrounding layer of concrete.
After that, coat the full interior basin or bowl with a small roller.
This step matters because a spot fix alone may not stop migration through the rest of the surface. A continuous shell does a better job.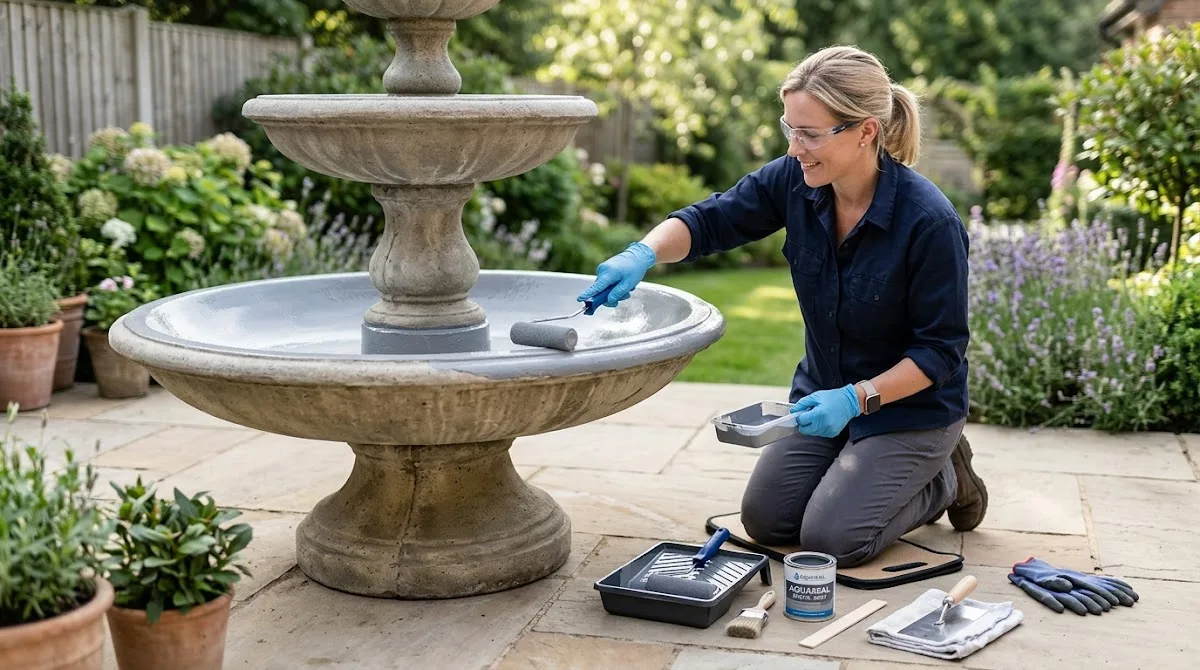 Many people reach for rubber or basic sealer paint here. Those can work for short-term home improvement projects, but they often lose bond, fade, or wear thin under standing water and sun.
For a more permanent finish, advanced micro-ceramic systems create a seamless, waterproof lining with a luxury look and easier cleanability. A three-part system is especially useful when you want both performance and appearance in one installation. It is the kind of product that makes sense when standard coatings keep failing.
If you are still weighing DIY methods, this DIY resurfacing article helps frame the tradeoffs.
Before refill, always test. Use a bucket or measured gallon to confirm the level holds after cure time. Follow each instruction on the label and do not shortcut the cure window.
Step 5: Leveling to Prevent Future Cold Weather Damage
Here is the part many people skip.
If the fountain is not level, water weight shifts to one side. That puts stress on the structure, especially at the bottom and corners. In winter, trapped moisture can freeze into ice, expand, and reopen the repaired area.
Use heavy-duty synthetic shims to level the base. For heavy fountains on patios, an elevated platform of interlocking brick helps keep the unit steady and away from ground moisture. Add sand as needed for a smooth set, but do not rely on loose dirt alone.
This protects structural integrity in two ways. It balances the load, and it limits freeze-thaw pressure during cold weather.
Cost Breakdown: Standard Materials
| Item / Product | Specification / Detail | Estimated Price |
|---|---|---|
| Water Pump Size | 100 GPH (standard small feature size) | Varies |
| Tubing | 1/4 inch clear plastic | Varies |
| Touch-up Stains | 2 oz (8 finishes) / 4 oz (6 colors) | Varies |
| Refinishing Kit | Full coverage kit | $112.00 |
| Epoxy Putty Stick | Permanent concrete repair | $14.00 |
| Synthetic Shims | Heavy-duty leveling | $12.00 |
| Sealer Spray | High Gloss or Matte | $18.00 |
One note for any owner planning a DIY fix.
Standard materials can solve a simple leak, patch a small hole, or help fill shallow surface flaws. But if the fountain has repeated failures, a porous basin, or constant splash exposure, a higher-grade finish from a certified contractor-applicator often costs less than repeating the same process every season.
SKIN2.0 is a brand built around that idea. Better material, better bond, longer service life.
Conclusion
Lasting fountain repair starts with diagnosis, not guesswork. Check the pump and plumbing, open and patch each crack correctly, prep a clean surface, apply a continuous waterproof finish, and level the base. Do those steps well, and your fountain should look better, run better, and stay sealed longer.
Frequently Asked Questions About Concrete Fountain Repair
Can you repair a concrete fountain?
Yes. Most fountain issues can be fixed if the base is stable and the damage is not too severe.
How do you seal a crack in a concrete fountain?
Grind the crack, clean it out, apply a thin bonding coat, then patch and coat the interior.
How to plug a hole in a concrete fountain?
Open the edges, use a suitable patch mix, and coat the surrounding basin for a continuous finish.
Will flex seal work on a fountain?
It may help short term, but it is not usually the best choice for a lasting waterproofing.
How do you seal a crack in a concrete fountain?
Use proper prep, bond to fresh concrete, and coat beyond the damaged area so the seal is continuous.
What is the 90 minute rule for concrete?
It usually refers to working time limits before a cement mix starts to set and loses easy workability.