
Fiberglass Pool Gelcoat Repair: DIY Resurface or Hire a Pro?
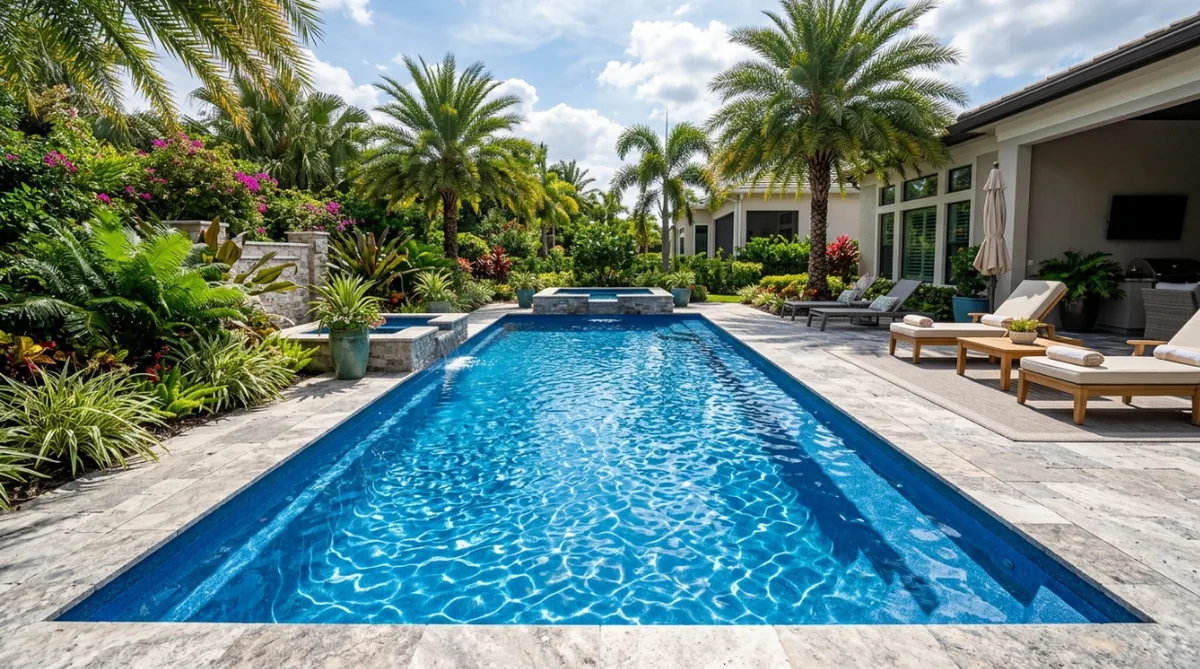
A fiberglass pool can look flawless for years, right up until the finish starts to fade, crack, or feel rough.
Then the big question shows up fast: should you tackle the gelcoat repair yourself, or bring in a pro for a longer-lasting fix?
Understanding Your Fiberglass Pool Surface and Gelcoat
A fiberglass pool is a one-piece molded shell installed as a finished basin. Its glossy finish is not just for looks. That outer layer protects the pool shell from water exposure, UV light, chemical wear, and daily use.
Gelcoat is a pigmented resin-based finish sprayed onto the mold before the fiberglass structure is built behind it. In simple terms, gelcoat is a protective outer skin. It gives the pool its color, sheen, and smooth feel.
Here’s the part many people miss.
That factory finish is made under conditions you cannot easily recreate outdoors. And that matters a lot when you are deciding whether to patch, resurface, or fully rebuild the finish.
If you want a broader look at options for fiberglass finishes, it helps to understand how the original layer was made first.
How the Resin and Gelcoat Layer is Manufactured
A factory-applied gel coat starts as a liquid resin mixed with catalyst and sprayed with specialized guns using compressed air. It is not brushed on like paint. It is engineered.
Most manufacturers apply it in exactly three passes. The target thickness is usually 25 to 30 mils. Too thick, and the finish may crack. Too thin, and the shell may be more vulnerable to osmotic blistering and early damage.
Temperature also matters. A controlled shop environment is usually kept near 77°F, with a precise catalyst ratio of 1% to 2%. That balance affects cure speed, hardness, and long-term durability.
Now add one more variable.
Moisture is the enemy. Factory air systems use dryers and water separators because even a little wet air can disrupt curing. If moisture gets into the mix, the finish may not bond or harden the way it should.
That is why field-applied gelcoats are tricky. On a live job site, air humidity, heat, shade, and wind can shift by the hour.
Common Issues Affecting Pool Gelcoats
Most finish problems show up in a few familiar ways.
Surface cracks are often hairline fractures caused by impact, minor settling, or a gel layer that was applied too thick. Some are cosmetic. Some point to a deeper structural issue.
Osmotic blisters look like bubbles under the pool surface. They form when water migrates into the laminate and reacts below the finish. Thin application is a common cause.
Discoloration and chalking usually show up as faded color, a chalky film, or dull areas that no longer look clean even after brushing. UV exposure, age, and poor water balance are the usual culprits.
Then there is general surface degradation. The once smooth finish starts to feel rough. Stains cling harder at the tile line. Algae can become more persistent because the surface is no longer as sealed as it used to be.
Evaluating the Gelcoat Repair Project: When to DIY
Let’s be honest. DIY pool repair can work, but only in a narrow lane.
If the problem is limited to a small scratch, a nick, or a very localized cosmetic blemish, a repair kit may be enough. For anything larger, the risk climbs fast.
That is why many owners start by reading about DIY pool resurfacing before buying tools and material they may only use once.
Minor Surface Scratches and DIY Fixes
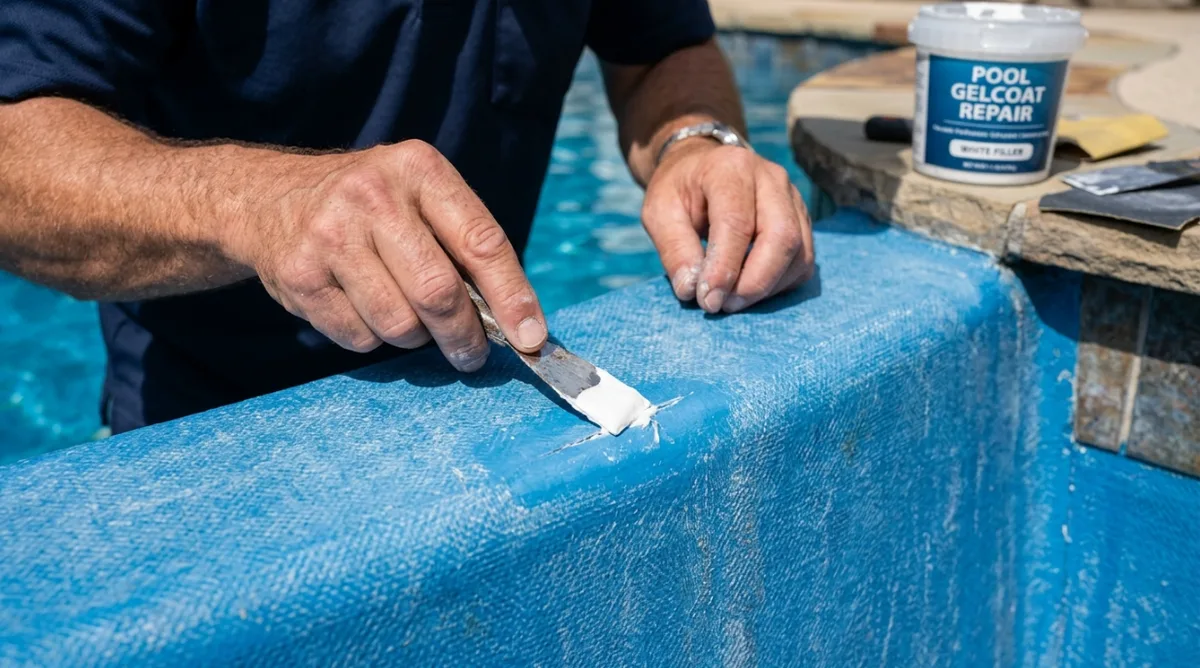
A fiberglass pool can usually handle a minor patch if the problem is shallow and isolated. Think small scratches, tiny chips, or superficial cracks that have not spread.
A homeowner can buy a kit with filler, hardener, pigment, and sandpaper in several grits. The basic steps are simple:
- Prep the area by removing dirt, oils, algae, and chemical residue.
- Apply the filler or gel blend to the damaged spot.
- Let it cure, then sand and polish until the new finish blends in.
Simple on paper, yes.
But matching color, gloss, and texture is harder than it sounds. Even a good patch can remain visible if the original pool has aged, faded, or turned slightly chalky over time.
Costs and Risks for the Homeowner
DIY materials usually cost less upfront, but the labor is real. Expect three to five days of work if you are doing more than a tiny patch. You may need sanding tools, polishers, respirators, mixing supplies, and better access around the pool than you first expected.
Outdoor gelcoat application is where things go sideways. Temperature swings, humidity, and wet conditions can ruin the cure. If surface prep is rushed, bubbling, peeling, or delamination can follow.
And that is the expensive part.
A patch that fails can trap water, hide leaks, or force a much larger repair later. If you are comparing budgets, this breakdown of resurfacing costs gives helpful context before you commit.
Why Major Pool Resurfacing Requires a Professional Service
When a fiberglass pool has widespread cracking, osmotic blistering, deep staining, or active leaks, DIY stops making sense. At that point, you are not just fixing a finish. You are protecting the shell, the structure, and the long-term use of the pool.
Professional resurfacing brings controlled methods, stronger prep, and installer expertise that is hard to duplicate with off-the-shelf kits.
The Professional Pool Resurfacing Process and Timeline
A typical professional resurfacing service takes five to ten days, depending on pool size and the condition of the shell.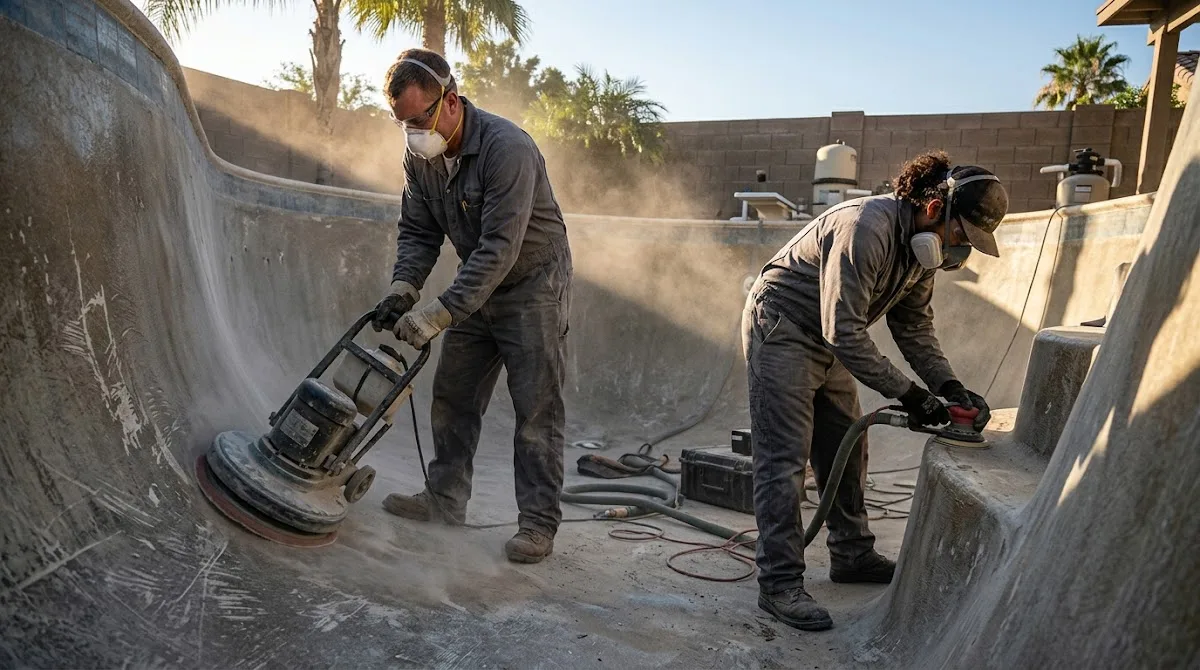
The workflow usually looks like this:
- Drain the pool completely.
- Sand aggressively to remove failed coating and create bondable profile.
- Address cracks, blisters, or structural defects.
- Apply the new gel, coating, or specialty finish.
- Allow 24 to 48 hours for cure and drying.
- Refill the pool and rebalance the water.
That timeline can stretch if hidden damage is uncovered. Older fiberglass pool models, especially those with prior patchwork, often need more prep than expected.
Cost Analysis: DIY vs. Professional Resurface
Yes, DIY is cheaper at the register. No surprise there. But cheap is not always low cost.
If the finish fails early, you pay twice. You remove the failed layer, buy more material, lose swim time, and may still need a contractor to fix the original issue.
Here is a practical cost range:
| Resurfacing Method / Repair Type | Estimated Cost Range |
|---|---|
| DIY Resurfacing Materials | $1,500 – $4,000 |
| Structural Repairs (Cracks, Leaks) | $1,000 – $5,000 |
| Basic Professional Gelcoat | $5,000 – $8,000 |
| Epoxy or Polymer Coating | $7,000 – $12,000 |
| Replastering (Small 12x24 Inground) | $10,000+ |
| Full Fiberglass Layer Replacement | $12,000 – $20,000 |
Costs vary by region, installer availability, damage level, and whether the pool is a small backyard design or a larger commercial construction.
Comparing Pool Surface Options: Gelcoat vs. Plaster vs. Vinyl Liner
If you are weighing whether to resurface or replace the finish entirely, it helps to compare the main pool surface categories side by side.
Concrete plaster is common, but it is porous and often rough underfoot. In some cases it is abrasive enough to scrape skin. It tends to need weekly steel brushing, periodic acid washing, and eventual replaster work to prevent algae buildup and visible wear.
Vinyl feels soft and smooth at first, but a liner is vulnerable to puncture, seam problems, and tear damage from pets, branches, or sharp objects. It also has a shorter life cycle and is harder to keep clean once seams begin to age.
Fiberglass gelcoat offers a non-porous finish that resists algae better than many traditional surfaces. It is easier to maintain, pleasant to touch, and built for daily water exposure without the same ongoing maintenance burden as plaster or the fragility of vinyl.
That said, every finish has limits. Once the original coating starts failing at scale, you need to think beyond basic patching.
Advanced Professional Alternatives for a Failing Pool Surface
This is where the conversation gets more interesting.
Not every failing fiberglass pool should receive another field-applied gelcoat. In fact, many advanced builders now avoid that route because outdoor resin curing is so sensitive to temperature, humidity, and application conditions.
The Shift Toward Micro-Ceramic and Antimicrobial Finishes
A modern alternative is a three-part micro-ceramic waterproofing and luxury finish system designed for both pool and general construction use. Instead of relying on a traditional resin spray setup, these systems bond directly to existing fiberglass or concrete and cure almost instantly.
That changes the equation.
You get a new finish without the same environmental sensitivity associated with conventional gelcoats. The result can be a more stable, durable, and hygienic surface, especially in demanding installations where long-term performance matters.
Premium systems in this category may carry ASTM, NSF, and Miami-Dade NOA certifications. Some also offer antimicrobial, antibacterial, and antiviral properties, which adds another layer of value where hygiene and durability are priorities.
For a contractor who wants to specialize in higher-end pool resurfacing, or an owner planning a long-horizon upgrade, that type of system can be a smarter install than repeating an older method that already failed once.
Long-Term Maintenance for a Lasting Pool
A fiberglass pool shell is built to last 25 to 50 years or more when it is well made and maintained. That does not mean it is maintenance-free. It means good habits matter.
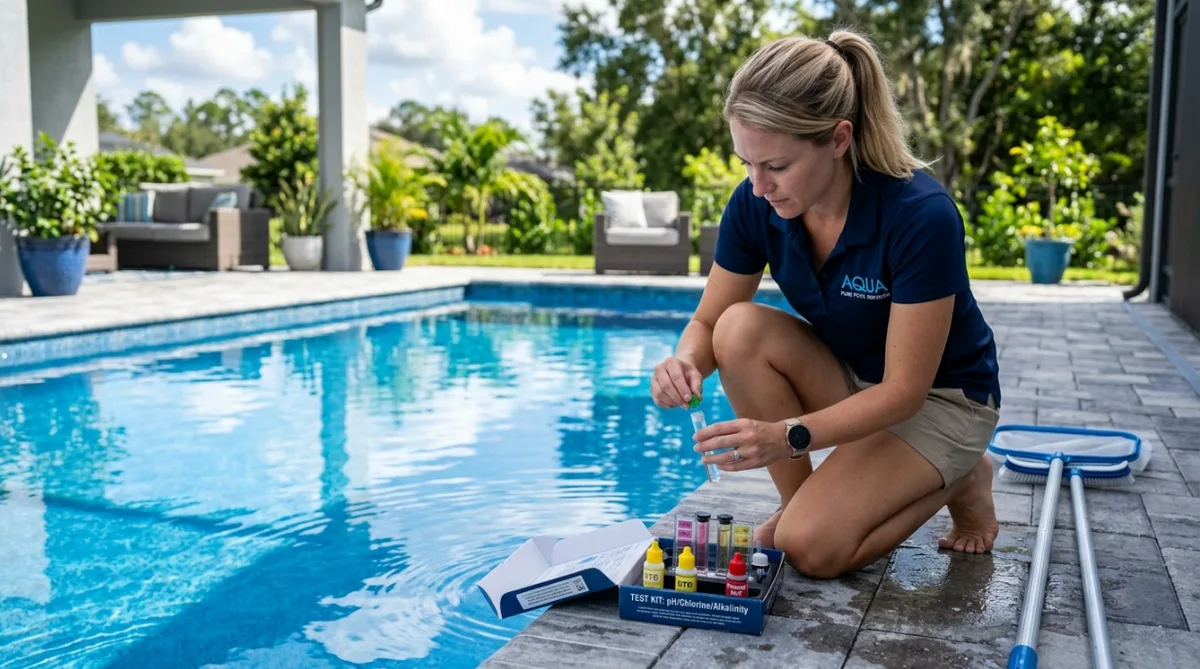
Keep your water chemistry balanced. Poor pH or chlorine levels can dull the finish, stain the surface, and shorten service life.
Inspect the pool seasonally, especially before heavy summer use. Look for cracks, blisters, fading, soft spots, and any area where the finish seems to lose bond. Catching a small issue early can prevent major repair later.
Also, keep the pool clean. Organic debris, scale, and residue left at the waterline can remove shine and make the basin harder to maintain over time.
Think of it this way.
Good maintenance is cheaper than emergency resurfacing. Always.
Conclusion
A minor scratch in a fiberglass pool may be a DIY fix. Widespread cracks, blisters, leaks, or heavy fading usually call for professional resurfacing. The right choice depends on the condition of the shell, the finish, and your tolerance for risk. If durability matters, careful prep, the right system, and skilled application make all the difference.
Frequently Asked Questions About Fiberglass Pool Gelcoat Repair
Can you gelcoat a fiberglass pool?
Yes, but only when the surface is properly prepared and conditions support a correct cure.
How long does gelcoat last on a fiberglass pool?
A well-made finish can last many years, often decades with proper maintenance.
Can I gelcoat over old gelcoat?
Sometimes, yes, but the old layer must be sound, clean, and fully prepped.
Can you patch a crack in the bottom of a fiberglass pool?
Yes, a crack can be patched, but deeper or spreading cracks need professional review.
How long does gelcoat last on a fiberglass pool?
It depends on chemistry, UV exposure, use, and the quality of the original application.
How much does it cost to gel coat a fiberglass pool?
Basic professional gelcoat work often ranges from $5,000 to $8,000, depending on size and condition.